How to Make Kandi Cuffs: 5 Unique Kandi Cuff Designs
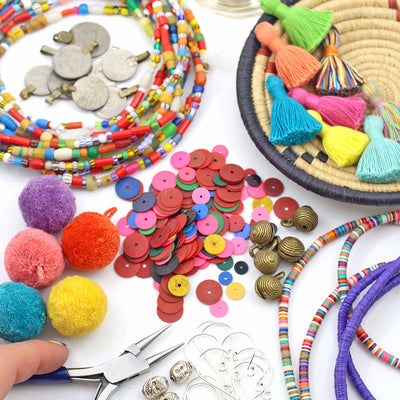
These days, its guaranteed that if you are having a kandi crafting party, many of your guests will appear with plenty of kandi and beads on hand. It's fun, it's pretty, and it is the perfect icebreaker when you offer some kandi to those you meet. There are many different ways to create kandi designs, and the kandi cuff is a great design that stands out among thinner bracelets.
Making Your Kandi Cuff
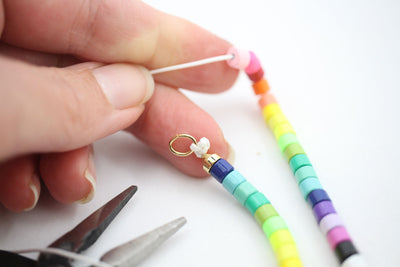
Start with enough beads of various colors to create three to four rows of beads. At least four or five colors is best. The string you use can be as long as you want it. You might want to try it around your wrist and make sure that you cut it so that there is plenty of room to go around your wrist at least four times plus some extra for the cuff technique and the tie-off. First, string all 36 beads in a pattern with a pattern of your choice, or you can use a different solid color for each row. Then, tie the ends together with a few knots. Cut the extra string off the bracelet's short end, cutting it near the knot
This will leave the long end of the string coming out of one bead. Then, string three beads at once and put the string end through the third bead. You can use the same pattern on this second row as you did the first so that each bead matches the one below it, or you can start out with a new color for this row. Continue this technique until you get to the end of the first row and make sure that the number of beads is the same. You can then start on the third row using the same technique of stringing three beads and then putting the string through the third bead to create another row. A fourth row is done the same way. When the cuff is completed, you can tie off the string with a couple of knots to keep it holding together.


Another Kandi Cuff Technique
You can also do it by having a much longer string, stringing the first row, and then tying it off. Then, string one bead at a time by putting the string through every other bead on the first row. Then, go back and create another half row by doing it again but putting the new bead in the spaces in between the other beads from row 2. This may take a little longer, but it creates a clean pattern that many people will love to have.
Choosing Your Patterns
Doing a pattern of three beads of each color or of just one color per row are great looks for kandi, but they don't have to be your only choices. As long as people have been making kandi, there have been new and exciting patterns being made. Here are just a few:
- Vertical stripes: These can be made using either of the techniques above. It takes a little more attention paid to how the colors are lining up, but it's a nice look that is perfect for both wearing and giving away. It's also possible to make slanted vertical stripes for a very different look.
- Heart shape: The heart takes the place of the background in its space, so it's good to make sure the color of the heart goes well with the background color. Often, the heart is made first and then the background is created around it. You can also make several hearts and use a different color bead to connect them all together and form a border around each heart.
- Letters: Whether you want to spell something or simply have your initials there, letters can be a fun way to communicate through your kandi cuff. This pattern also takes some serious planning to map out the shape and size of the letters first. This will help you to stay on target with each row so that every row helps you to make each letter.
- Minecraft characters and props: The boxy nature of these images makes them ideal to recreate in kandi bead form. Like many other shapes, these need to be mapped out ahead of time, or you can find patterns online that will make it easier to plan them. A simple head with a boxy shape can be done easily, but don't stop there. Consider a sheep, a pig, redstone, and other images as well.
- Smiley face: A smiley face is always cheerful, and people love to wear kandi cuffs with this fun image. These can easily be done by factoring in a few black beads across a background of other colors. The mouth can make the face a smiley face or a mad face, whichever you prefer.


Leave a comment